In December of 2013, I purchased my first bandsaw! I didn't really know what I would use a bandsaw for on a daily basis, but I knew for certain that I needed one. I took advantage of Grizzly’s year end sale and got their 14” G0555LANV.
I was stoked! I didn’t actually have projects lined up out the door to put this puppy to work, but I knew it would be an essential part of the shop eventually. I now use my bandsaw several times a week, if not daily. Things like ripping rough lumber down to 8” wide so it fits on my jointer, or most importantly, book matching all of my really thick stock I work with.

Grizzly G0555LANV
In my YouTube Training prior to purchasing the bandsaw, I stumbled across a Woodworkers Guild of America video teaching how to mill your own lumber on a bandsaw. The idea of taking green lumber and cutting it down to useable pieces of wood sounded awesome. Sounded like something I would love to do, so I did even more research. I was also on the hunt for any green logs that I could get my hands on.
Right after I decided I wanted to mill my own lumber, Laura and I made the annual trip to OKC to visit her parents. Turned out that, as luck would have it, her Dad had a lead on some trees that were scheduled to be cut down while we were there! They were on the property of their church, and the church was expanding and going to chop them down and trash them. The trees we cut down were American Elm trees, and yielded an entire “Corolla Trunk Load” full. These are the freshly cut logs:

American Elm Logs
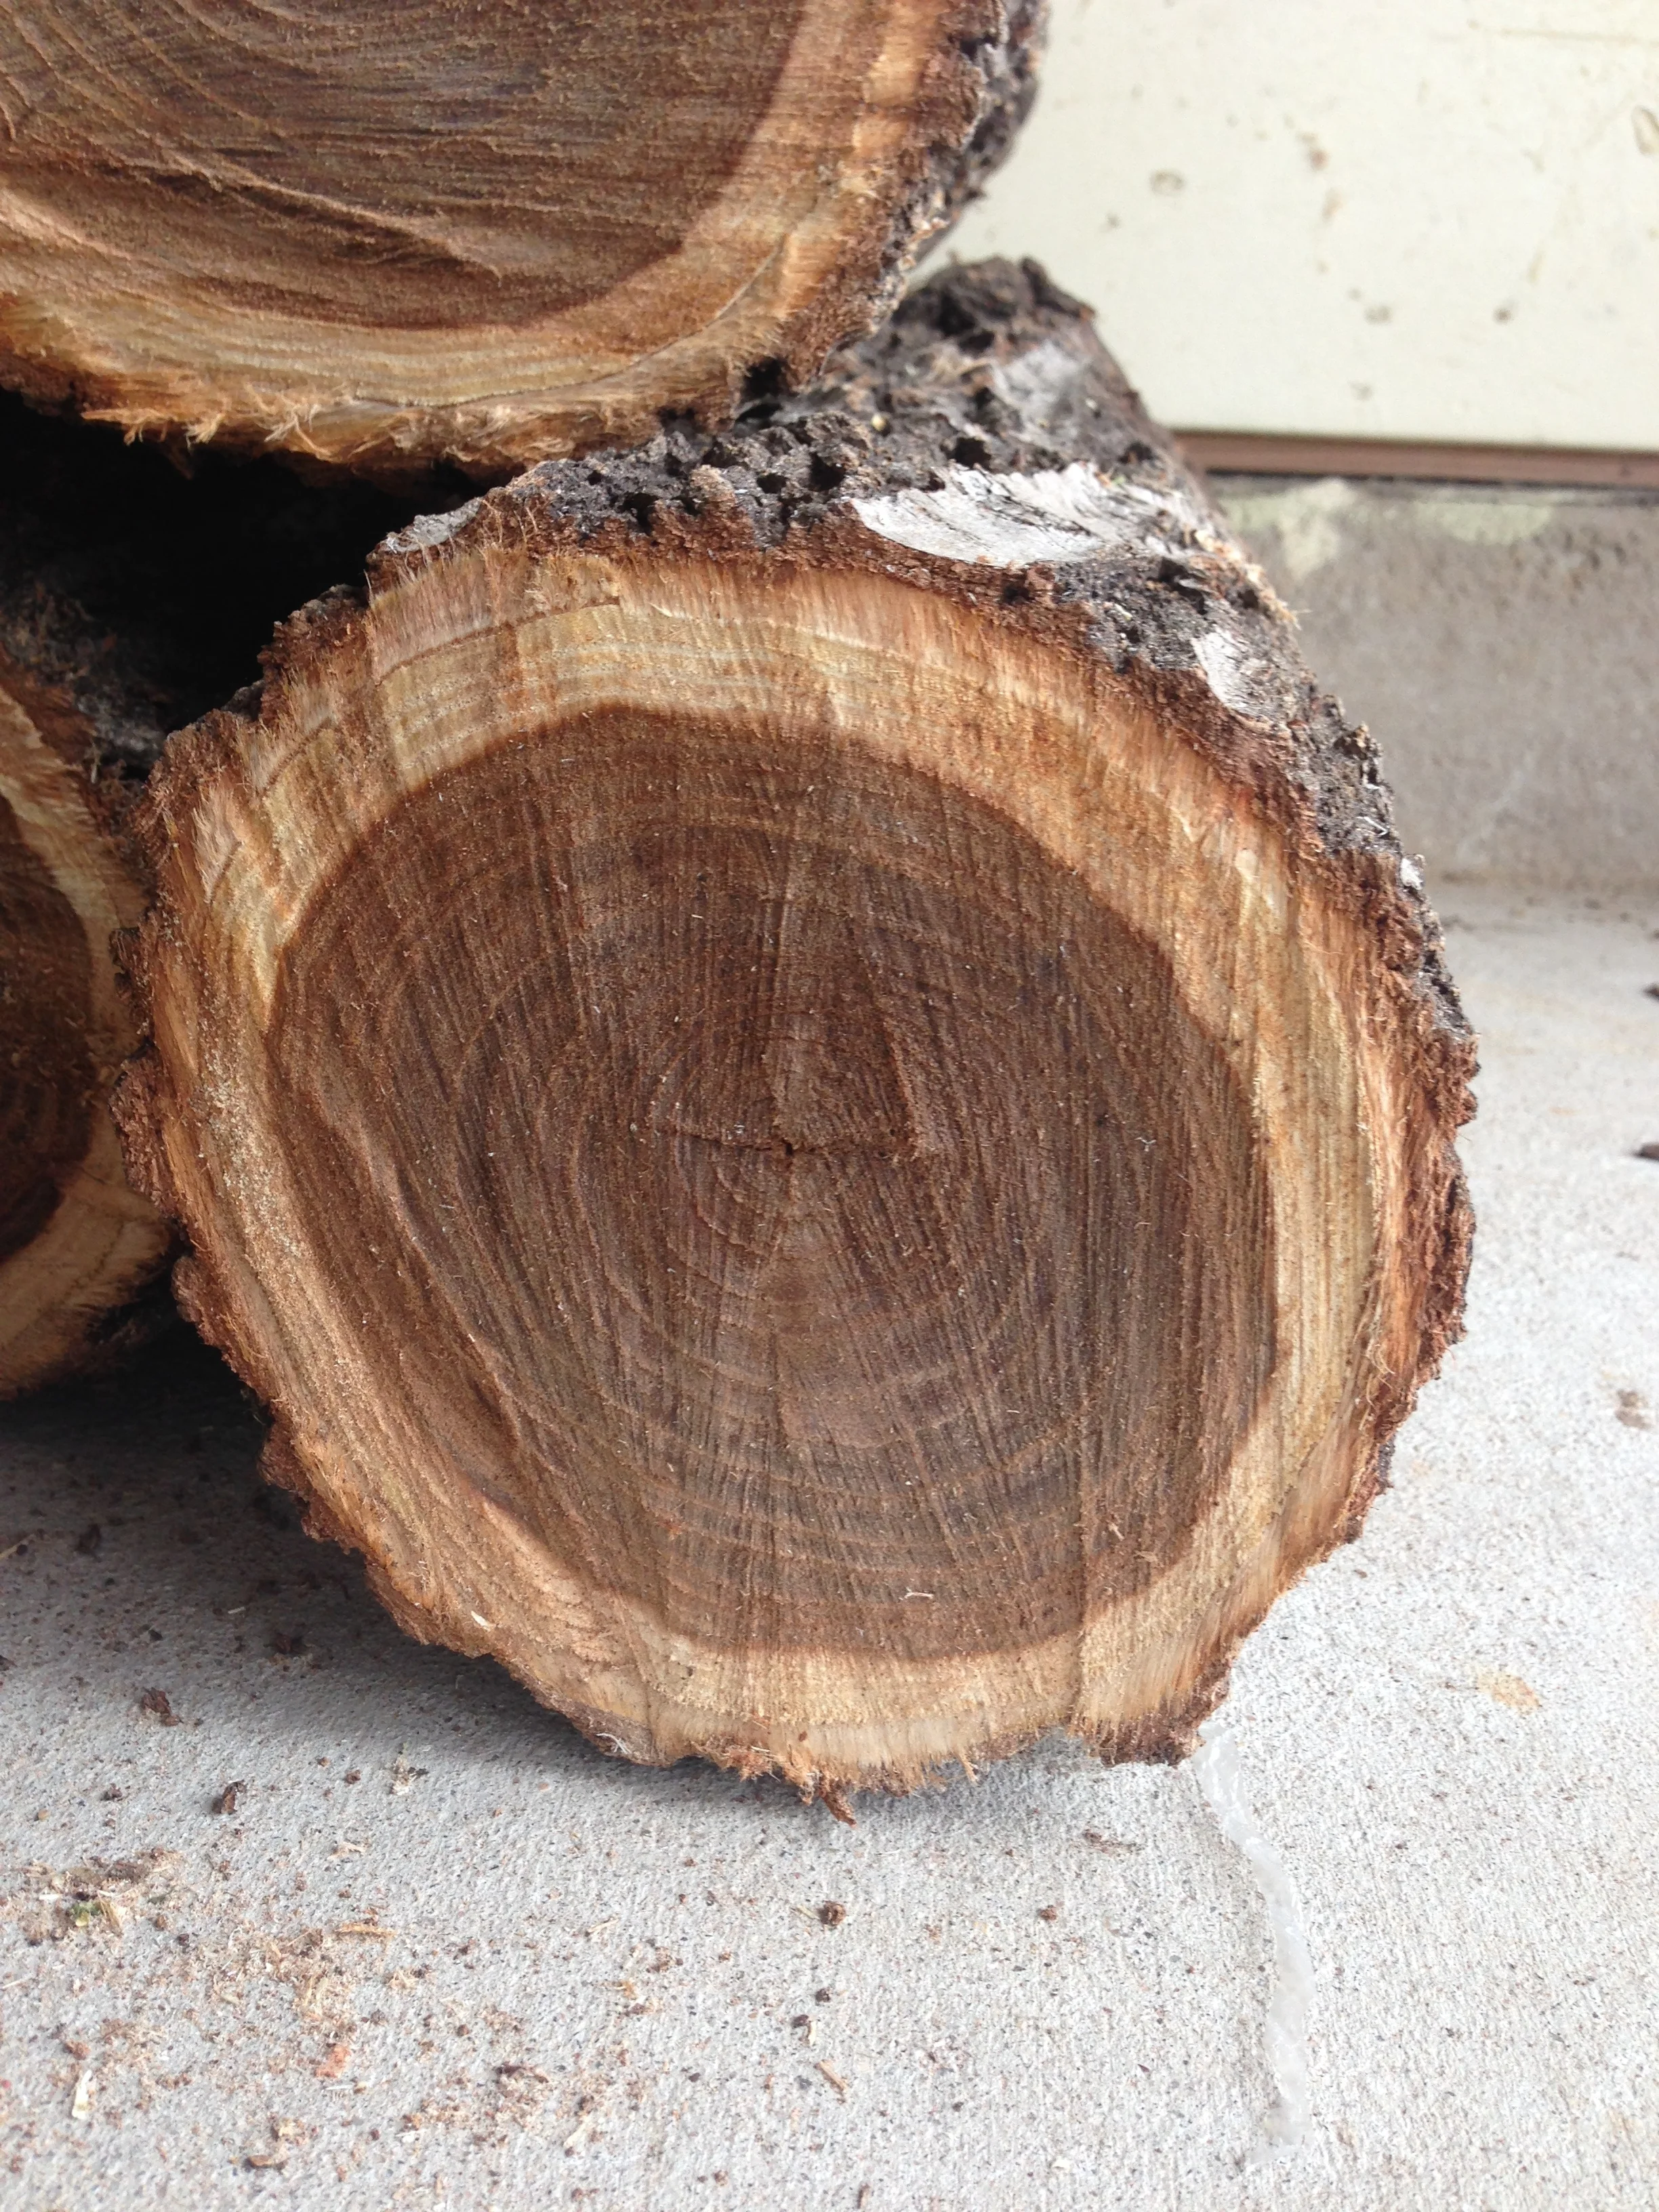
American Elm
Once I got back to the shop after the trip it was time to turn these green logs into lumber. I cut the logs down into the maximum size widths that each piece would yield. After they were cut, I painted the ends of each newly formed piece of wood to seal the end grain and prevent the pieces from splitting as they’re drying. Once painted, you "sticker", or place spacers between each piece to allow for max airflow, and stack them.

Milled Pieces

Painted Ends

Bookmatched Pieces

Stickered & Stacked
Once stacked, then it's just a waiting game. The rule of thumb is 1 year of air drying for every inch of thickness. Since I cut them into 1" pieces I only had to wait a year to be able to use these! It has been a total of 15 months and I am now able to use them.
Here are some first pieces shots of what this beautiful wood looks like. I love the contrast between the sapwood and the heart. Worth the 15 month wait!
With this Elm dry and ready to work, I have started making a few smaller projects. The first being a set of drink coasters. Because I use an all natural, oil based finish, there needs to be preventative measures taken to ensure the beauty of the table remains. As with most finishes they will develop ring stains when glasses are too hot or too cold for the surface, it was only right that I make coasters for all of my tables. These are the first of many to come!

Major Sapwood

Heartwood

Set of 4 Coasters

Coaster Detail


